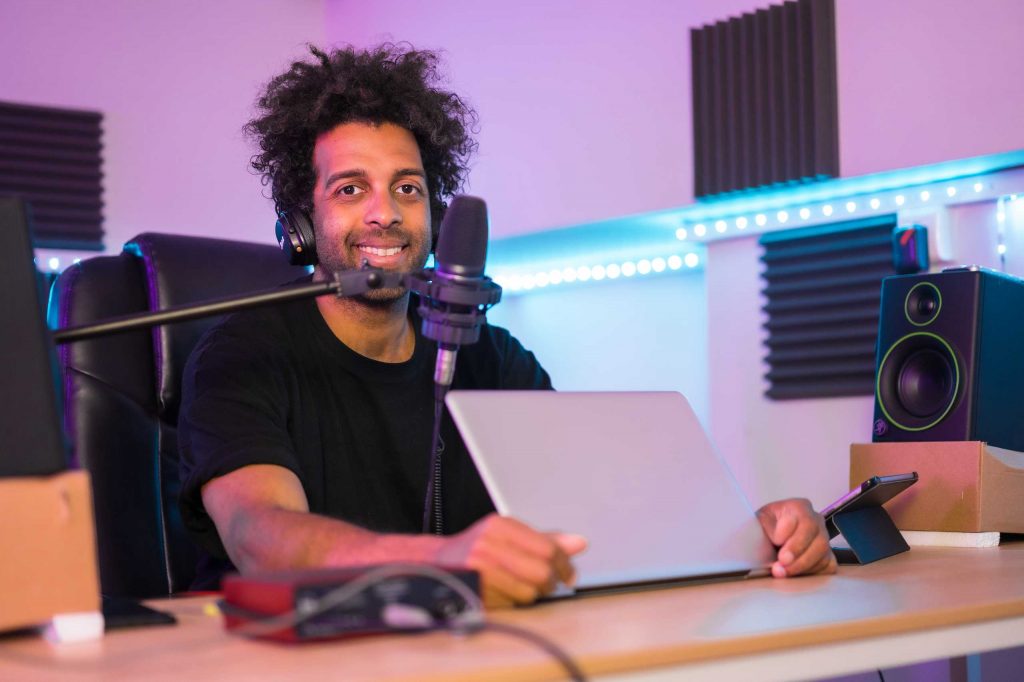
You don’t need a million-dollar studio to start recording voice-overs or dubbing. In fact, some of the most successful voice talents began with a closet, a blanket, and a dream.
Creating a professional-sounding space at home is easier than you think — if you focus on the right things first.
1. The Room Matters More Than You Think
A good microphone in a bad room will still sound… bad. Echoes, background noise, and thin sound can ruin even the best performance.
Choose a space that’s:
- Small and enclosed (closets are gold!)
- Away from windows and street noise
- Naturally padded with clothes, rugs, or books
You’re not aiming for perfection — just a controlled environment.
2. Soundproofing vs. Sound Treatment
These two often get mixed up:
- Soundproofing = keeping outside noise out
- Sound treatment = improving the sound inside
For a home setup, focus on treatment first:
Hang thick blankets, foam panels, or moving pads on walls. Fill corners with pillows. Place a rug on the floor. These reduce reflections and make your voice sound richer.
3. Choosing the Right Microphone
You don’t need the most expensive mic — you need one that matches your voice.
Top beginner-friendly options include:
- Audio-Technica AT2020
- Rode NT1-A
- Samson Q2U (USB/XLR hybrid)
Combine it with a pop filter and shock mount. These small additions make a big difference.
4. Audio Interface — The Bridge to Quality
If you’re using an XLR mic (recommended), you’ll need an audio interface to connect it to your computer.
Look for simple, reliable models like:
- Focusrite Scarlett Solo
- Presonus AudioBox
- Behringer UMC22
These convert your voice into clean digital sound with minimal setup.
5. Software That’s Easy and Free
You don’t need to invest in expensive DAWs at first. Try:
- Audacity – free, simple, and great for beginners
- Ocenaudio – lightweight with a clean interface
- Reaper – free trial, highly customizable
Later, you can move to industry standards like Adobe Audition or Pro Tools.
6. Practice: The Missing “Gear”
Even the best studio won’t help if your delivery is untrained. Set aside time to record daily:
- Read scripts from commercials, audiobooks, or movie scenes
- Play them back
- Note where you sound natural — and where you don’t
Improvement comes not just from setup — but from consistent, mindful practice.
Conclusion
You don’t need fancy gear to start — you need focus, clarity, and a bit of creativity.
Build your space with intention, train your voice with care, and your home setup can take you further than you think. After all, clients don’t see your studio — they only hear your sound.

